

How to make a cheaper Sonos speaker with a Raspberry Pi
How to make a cheaper Sonos speaker with a Raspberry Pi
The Sonos One is on our listing of the all-time smart speakers for a few reasons: It makes everything audio astonishing, and information technology works with dozens of audio streaming services — far more than you'd notice with the Amazon Echo, the Google Nest Audio, or the Apple HomePod Mini.
Nonetheless, the Sonos One is a fairly pricey $200. But, if you accept a speaker you similar just lying around, yous tin can plough information technology into an inexpensive Sonos speaker using a Raspberry Pi. Hither's how.
How I'thou using the Raspberry Pi in my smart home
The Raspberry Pi kicked off a revolution, offering makers and tinkerers an cheap single-lath computer that packed a punch. Fast forwards to now and we're on the quaternary iteration of the Pi. Yous can run basically anything on it, fifty-fifty Windows (though why you would is your ain business concern).
For the longest time, I wanted a Raspberry Pi, only I had no idea what I'd practice with one. But equally I've expanded the applied science in my house, and as I've locked everything down, I started having ideas for a Pi. The first project I did was to make a Pi-Hole device, which is basically a network-broad advertisement blocker. If you don't desire your smart TV or streaming stick collecting information on your viewing habits, Pi-Hole is an absolute must.
My second Raspberry Pi served equally my Home Assistant host. Going into detail about Home Assistant is outside the scope of this commodity, but it's basically a home automation and smart home platform. But I rapidly learned that my Raspberry Pi four wasn't upwards to the task. So I converted the XDO Pantera Pico I reviewed a while back into my new Dwelling house Banana host and information technology's been not bad.
Simply that left me with a spare Raspberry Pi, sitting in a drawer doing nothing. That was, until I stumbled on a new project to fill my free time. Enter balenaSound.
balenaSound: What is it?
If the prefix 'balena' sounds familiar, it's probably because you know the developer'south about pop software, balenaEtcher. This is a flashing tool, perfect for making live Linux USBs or Raspberry Pi SD cards. It's i of the default recommendations right now since it's cantankerous-platform. Windows, Mac, Linux, information technology doesn't matter.
Merely Etcher isn't the just projection that balena has going on. In fact, there are several others, but one in detail defenseless my centre (well, two, but I digress). This is balenaSound, an audio streamer that supports single- and multi-room layouts. When coupled with a Raspberry Pi, information technology turns regular old speakers into Wi-Fi speakers with multi-room capabilities like Sonos.
Information technology's a Docker container that runs on top of balenaOS, an operating arrangement designed specifically for deploying Internet of Things (IoT) in containers. To manage your case of balenaSound (or whatsoever other balena IoT project), you'll command information technology through the balenaCloud portal. The OS uses the OpenVPN protocol to create a secure connection to your dashboard for deployments and management.
Getting upward and running is super easy. Y'all'll walk through the steps of creating a project, customize the OS image, and flash it to your microSD card. Slap that into your Raspberry Pi, hook up the speakers, and boom. Yous have Wi-Fi speakers that back up AirPlay, Spotify Connect, UPnP and Bluetooth (and there's snapcast back up, too). In fact, the only thing I wish balenaSound had is Google Cast. I'd be more than happy to cover the licensing fee Google charges to turn my speakers into Cast targets.
Keep in mind that with the gratis tier, you're limited to ten devices on balenaCloud. That should be fine for about residential purposes.
Assuming you have the parts I'll layout beneath, you can be up and running in well-nigh 10 minutes. There are configurations you can tinker with, but the nuts are quite easy to deploy. It besides helps that the documentation for balenaSound is quite solid, so don't be afraid to do some reading.
How to make your own Sonos-similar smart speaker using a Raspberry Pi
Yous will need the following parts to get started:
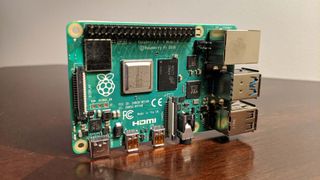
- Raspberry Pi (3B+ or 4B is best)
- A power supply (check which one you lot need for your Pi)
- microSD card (8GB)
- Speakers
- three.5mm or RCA sound cables (if using a supported DAC)
Furthermore, yous volition need the following software:
- An image writer (like balenaEtcher)
- A free balenaCloud account
- Your customized balenaSound image
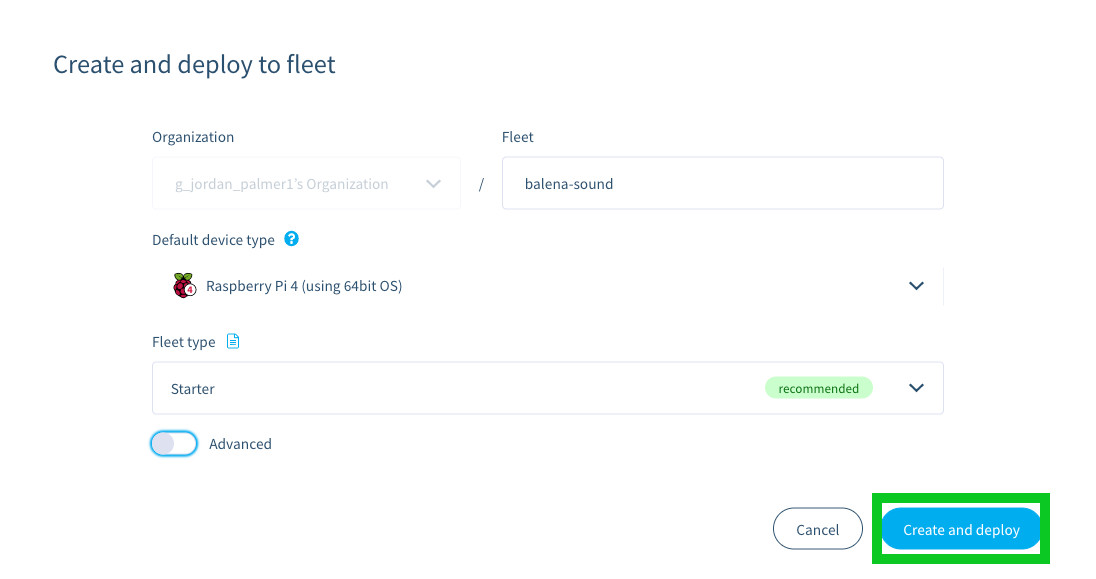
1. Using the provided link, deploy balenaSound. This will take you lot to a fleet creation dialog. Change the name if you wish.
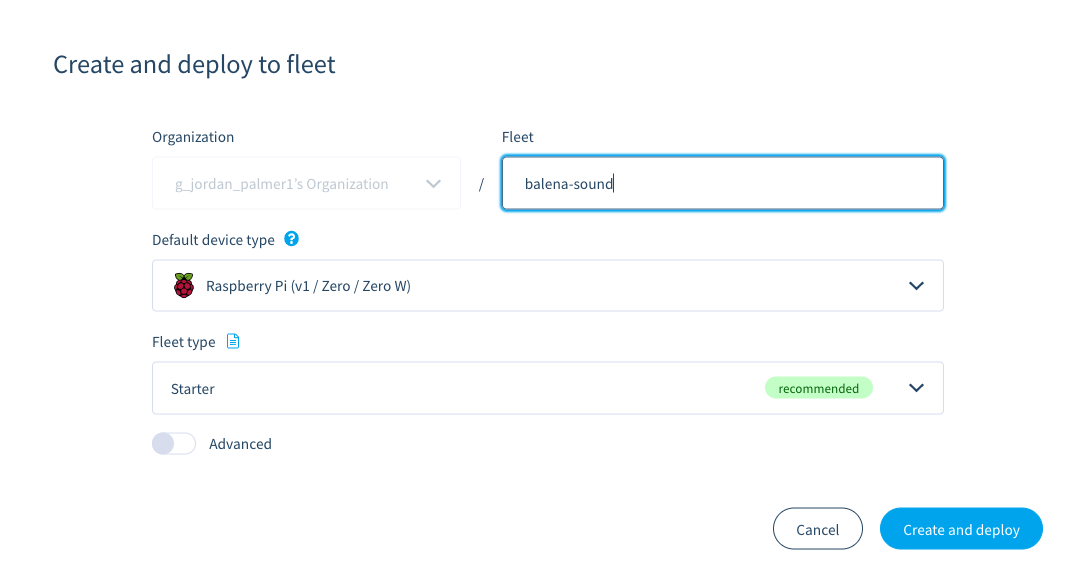
2. Select your device from the Default Device Type dropdown card. Use the search function to detect it quickly.
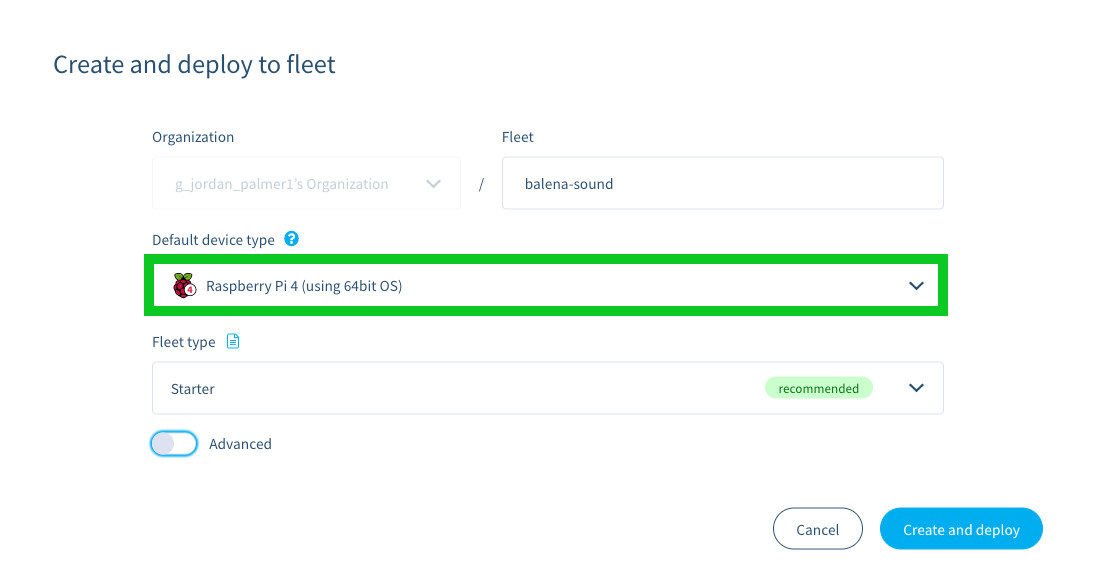
3. Click Create and deploy.
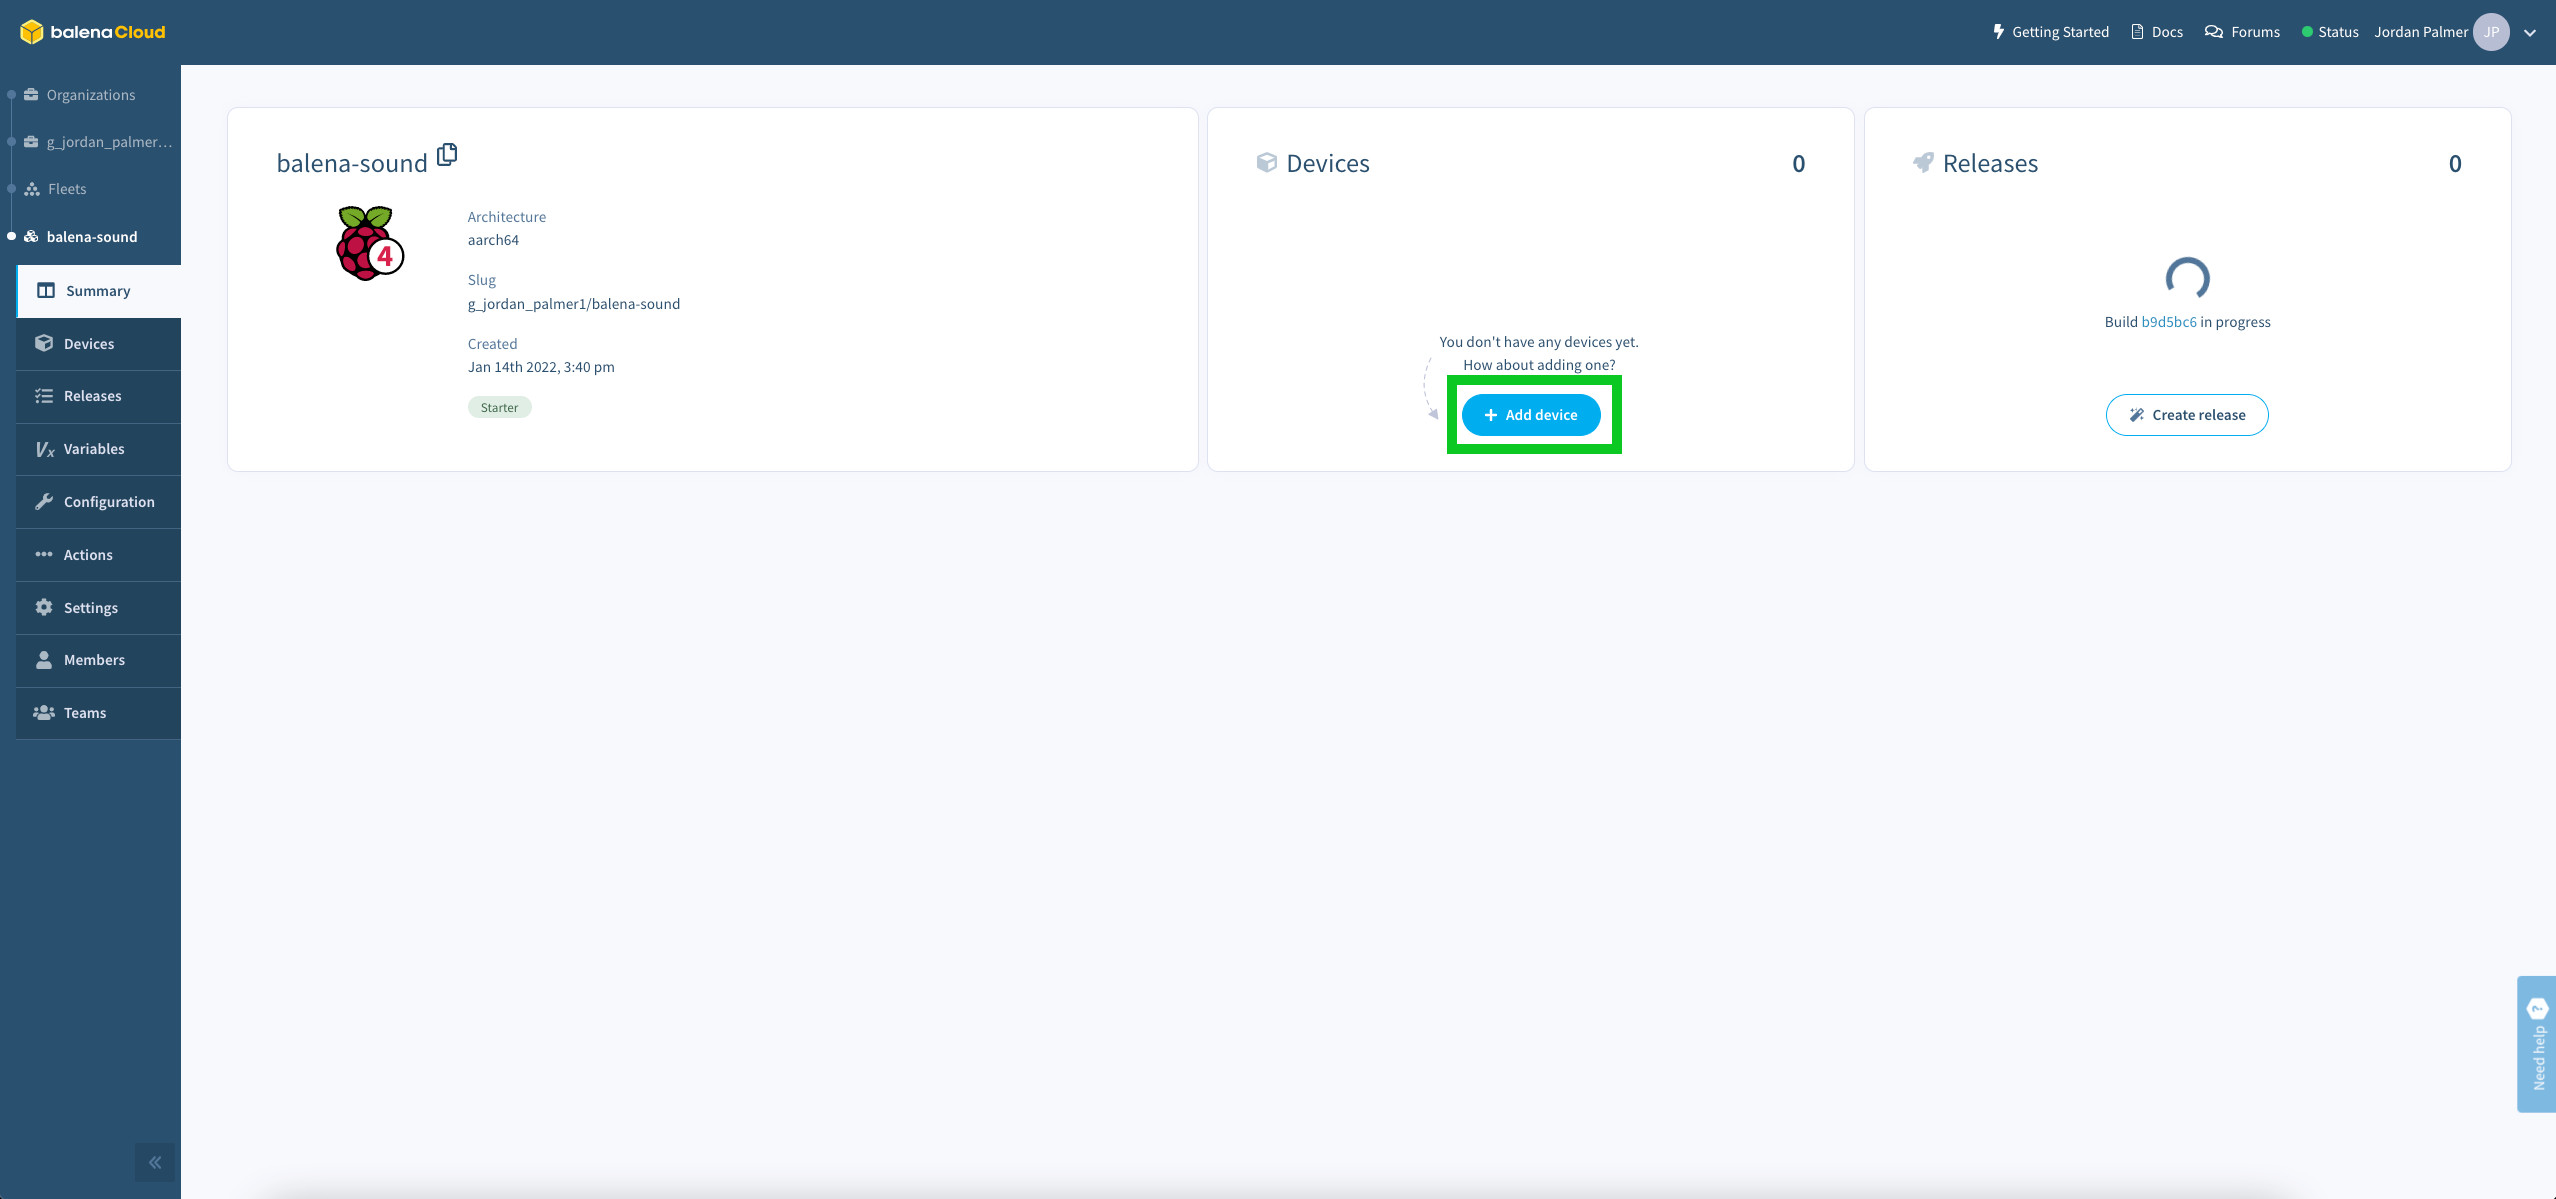
iv. You will see your new dashboard for the fleet you but created. To start provisioning your Raspberry Pi, click + Add together Device.
5. In the dialog that appears, change your device type if necessary. Leave OS type, version and edition as default.
If you plan to connect your Raspberry Pi to Ethernet, click the Flash button to flash with Etcher, or click the arrow and select Download balenaOS to flash it the programme of your choice.
If you want your Raspberry Pi to instead piece of work off of Wi-Fi, click the Wifi + Ethernet radio push button. Input your network's SSID and countersign, then click the Wink button.
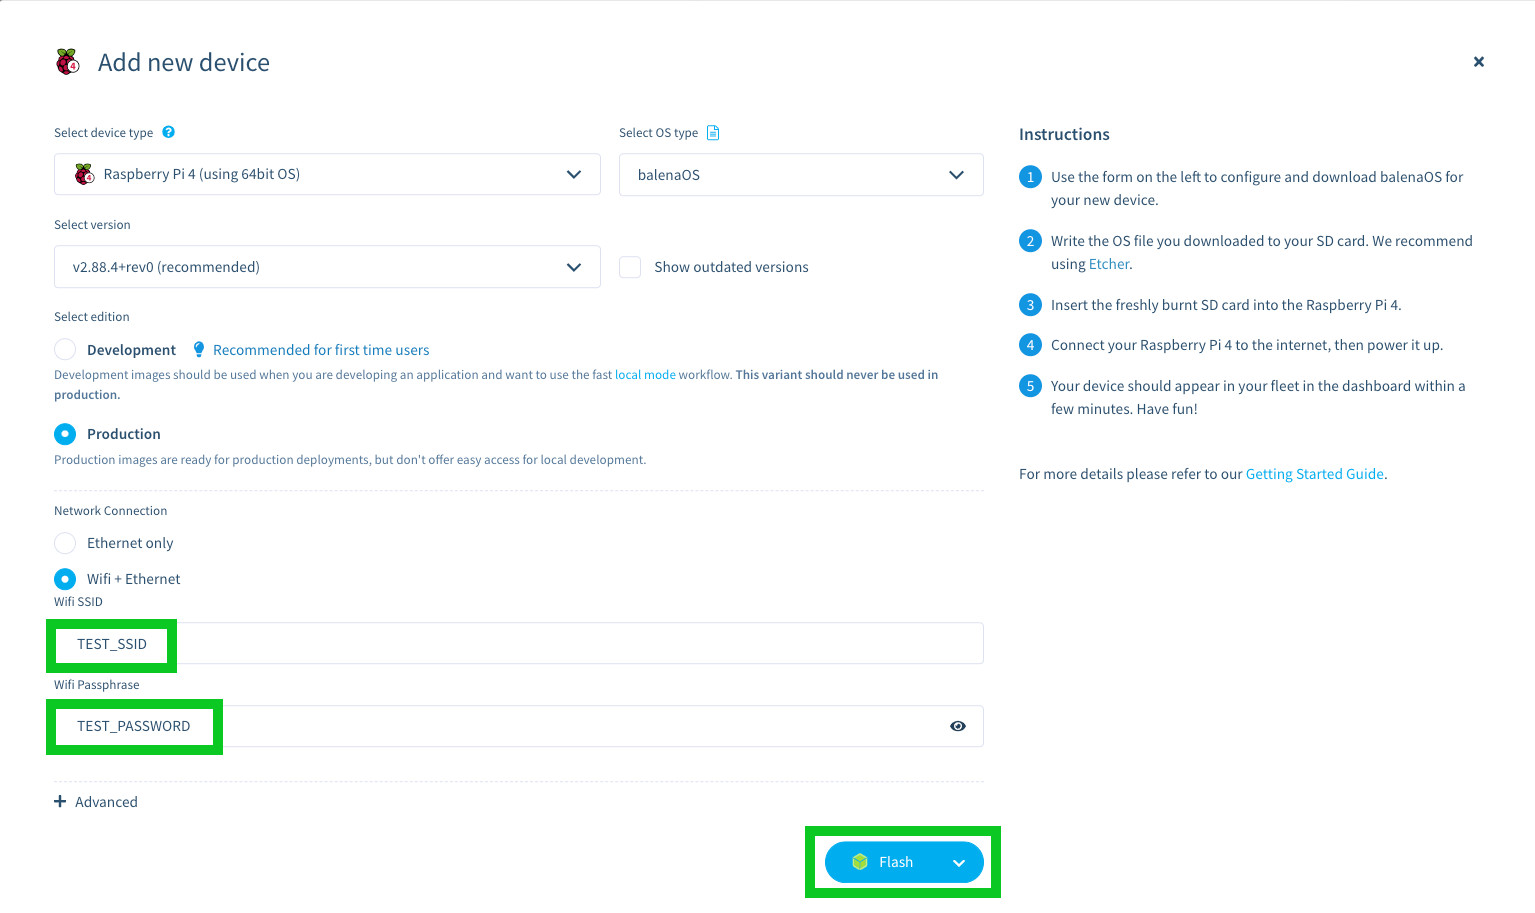
6. Insert your microSD into your computer. Wink the paradigm, either through the Wink button or with the downloaded image file.
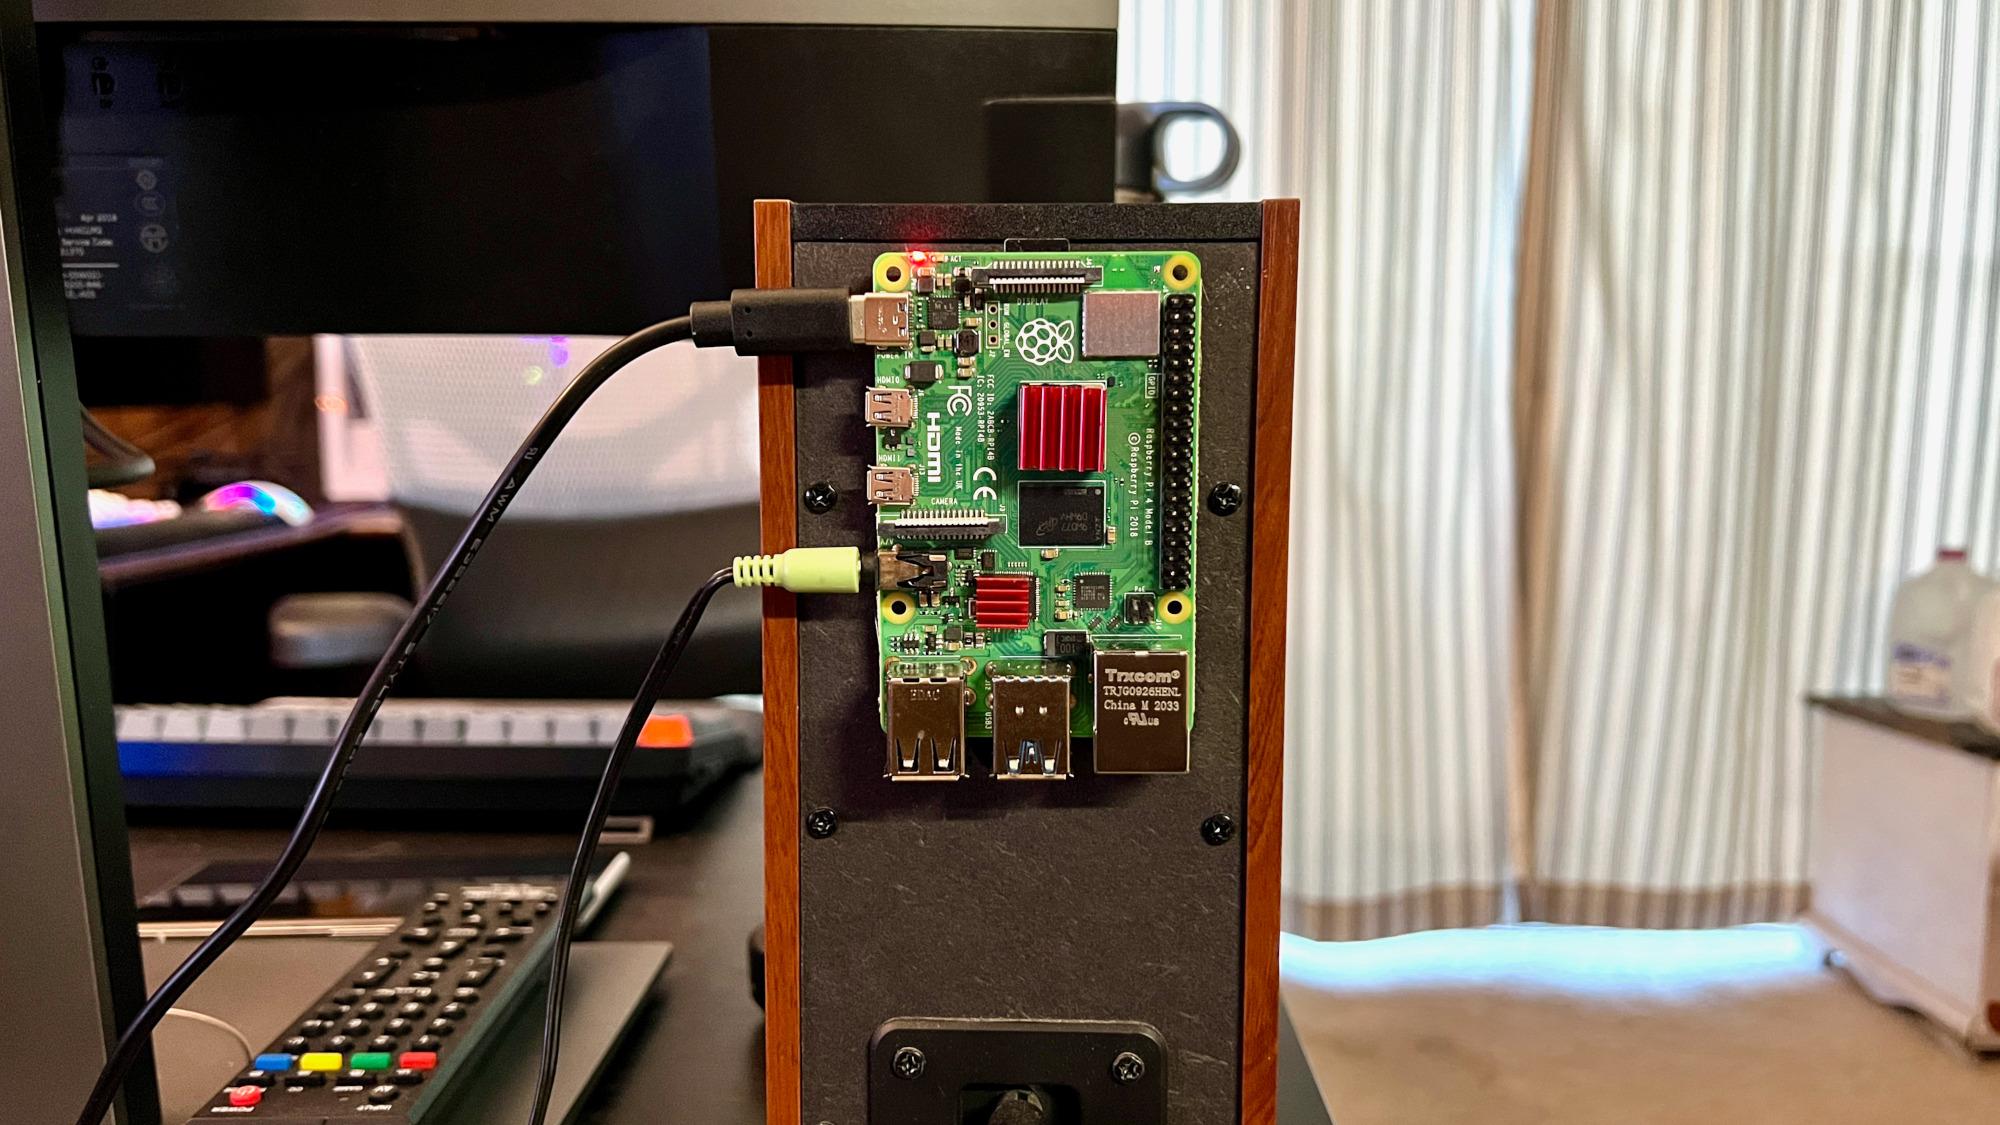
7. Squirt the microSD card and install it into the Raspberry Pi's slot (on the underside of the board).
eight. Plug in the power supply and connect the audio cablevision to your speakers.
With the bones configuration, y'all volition use the Raspberry Pi'south onboard audio via the 3.5mm headphone jack. If yous have a DAC chapeau like the IQAudio DAC Pro, you can utilize RCA sound cables.
balenaSound configuration and settings
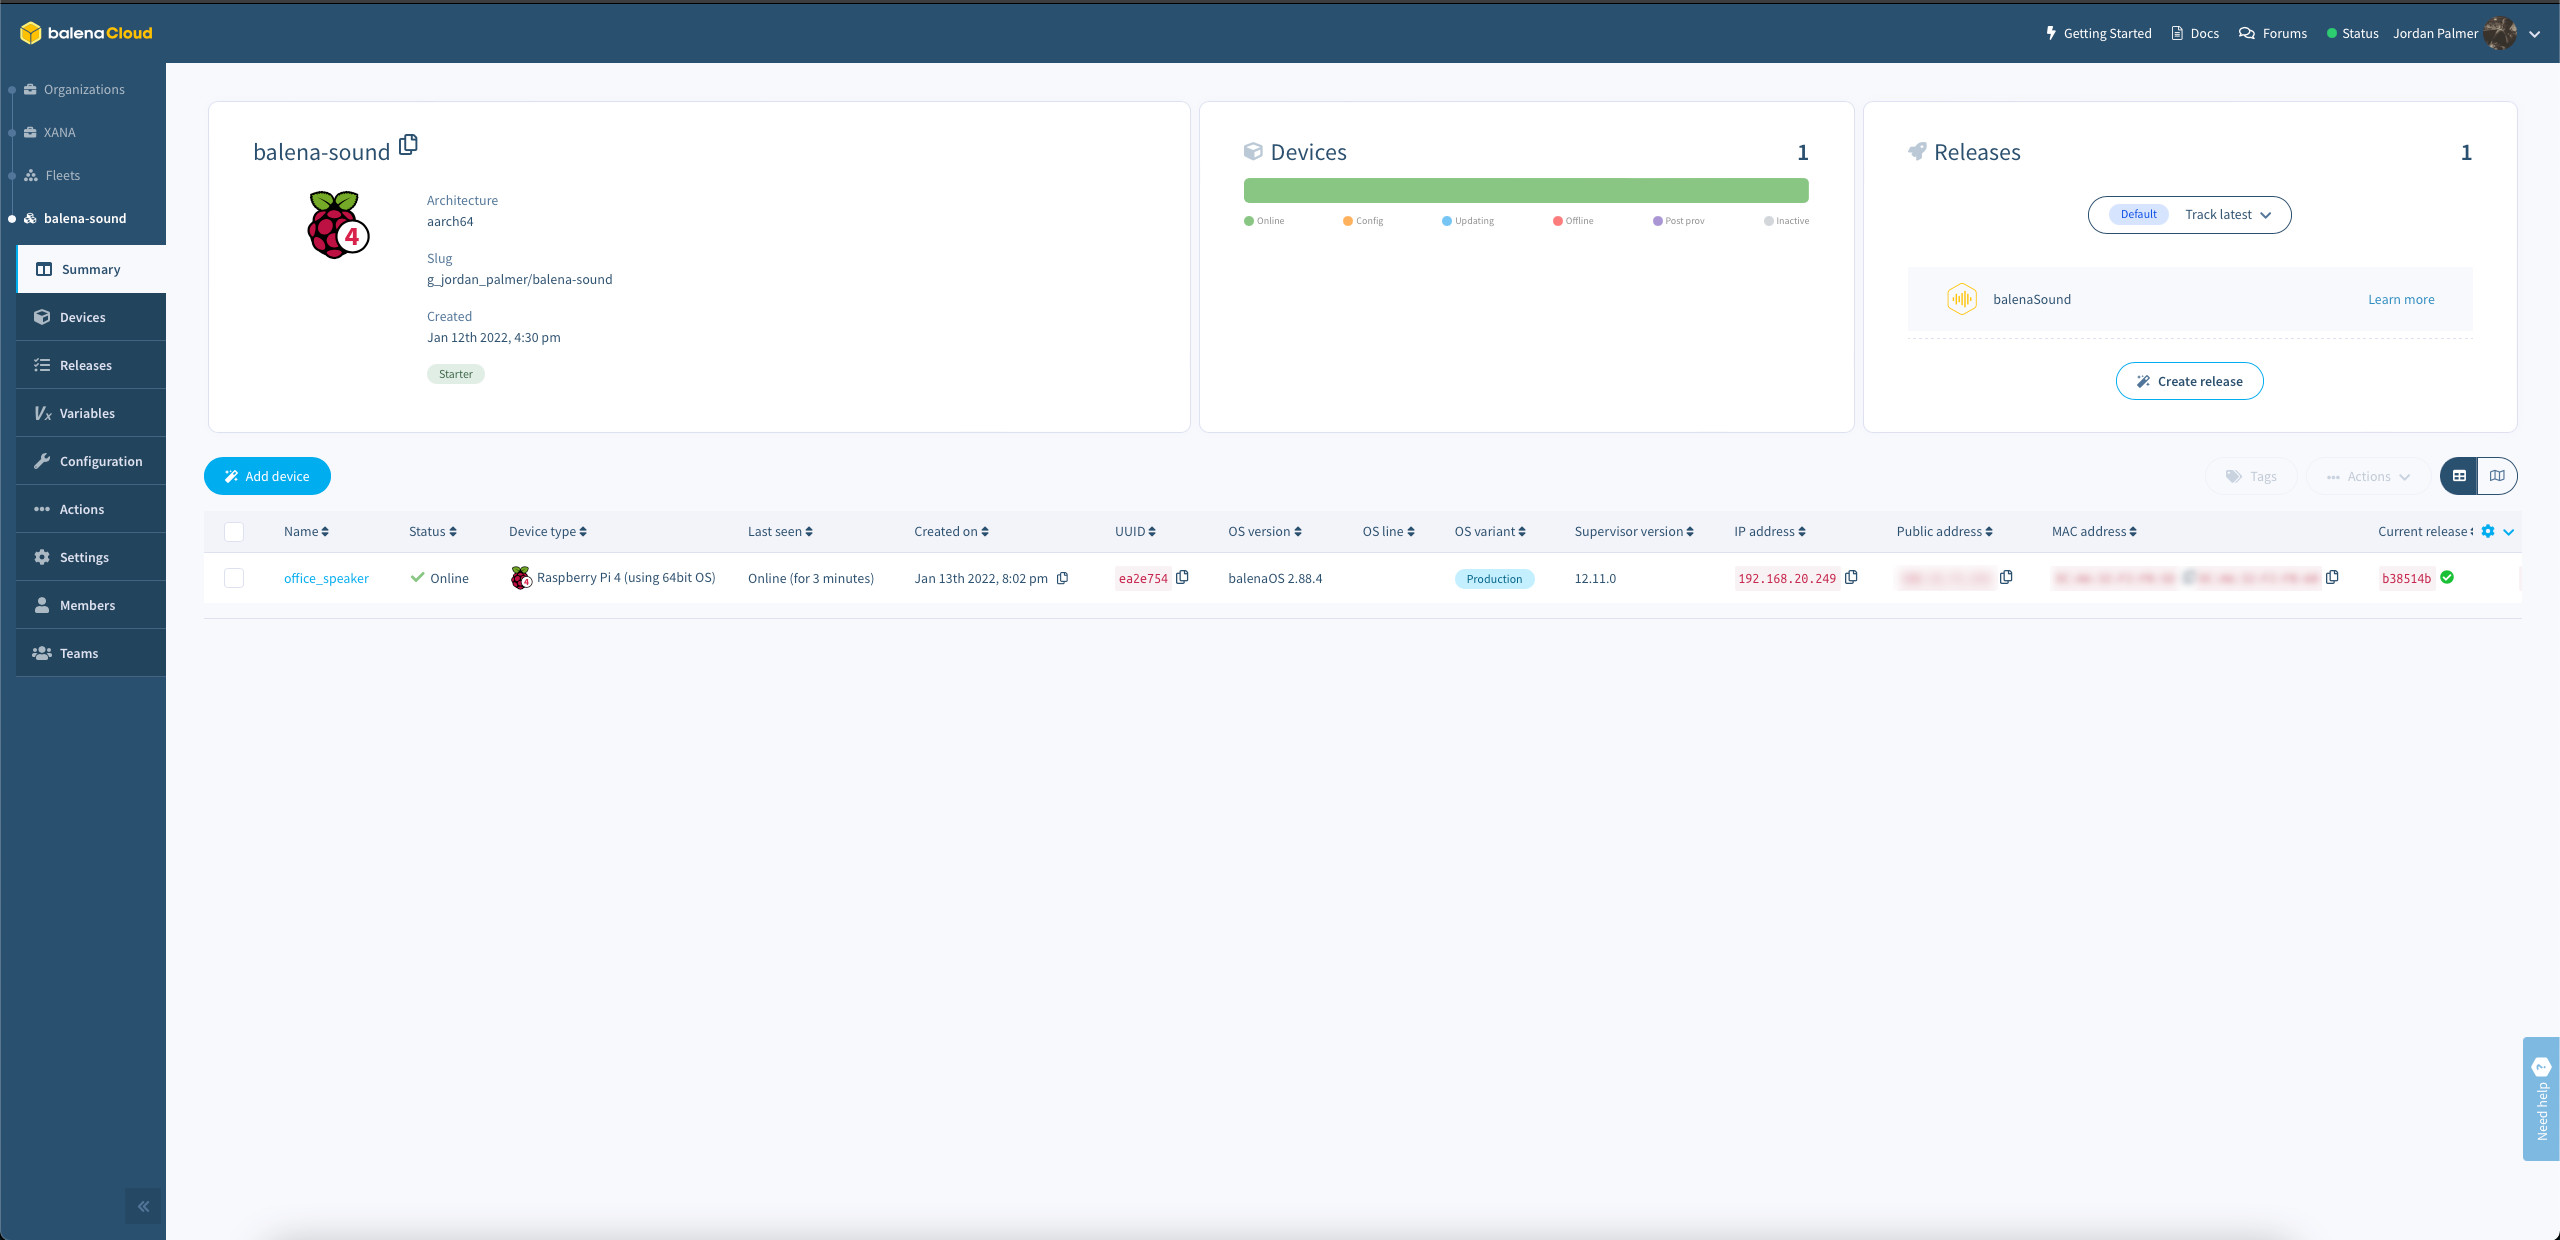
Out of the box, balenaSound should work equally long as you lot take the network settings right. You should see it appear on your dashboard after the Raspberry Pi boots (this can take a few minutes). From here, you can manage the balenaSound instance and control the host.
But yous may not necessarily be satisfied with how things are. For me, I didn't like the random target name in Spotify Connect and AirPlay. I wanted to modify it to something different, which requires setting an environment variable.
From the left carte of your balena-sound armada dashboard, click Variables. Click the blueish Add a variable push. Get out the Service section equally All services. In the Name section, type SOUND_DEVICE_NAME. In the Value box, set whatever your want your speaker group to be.
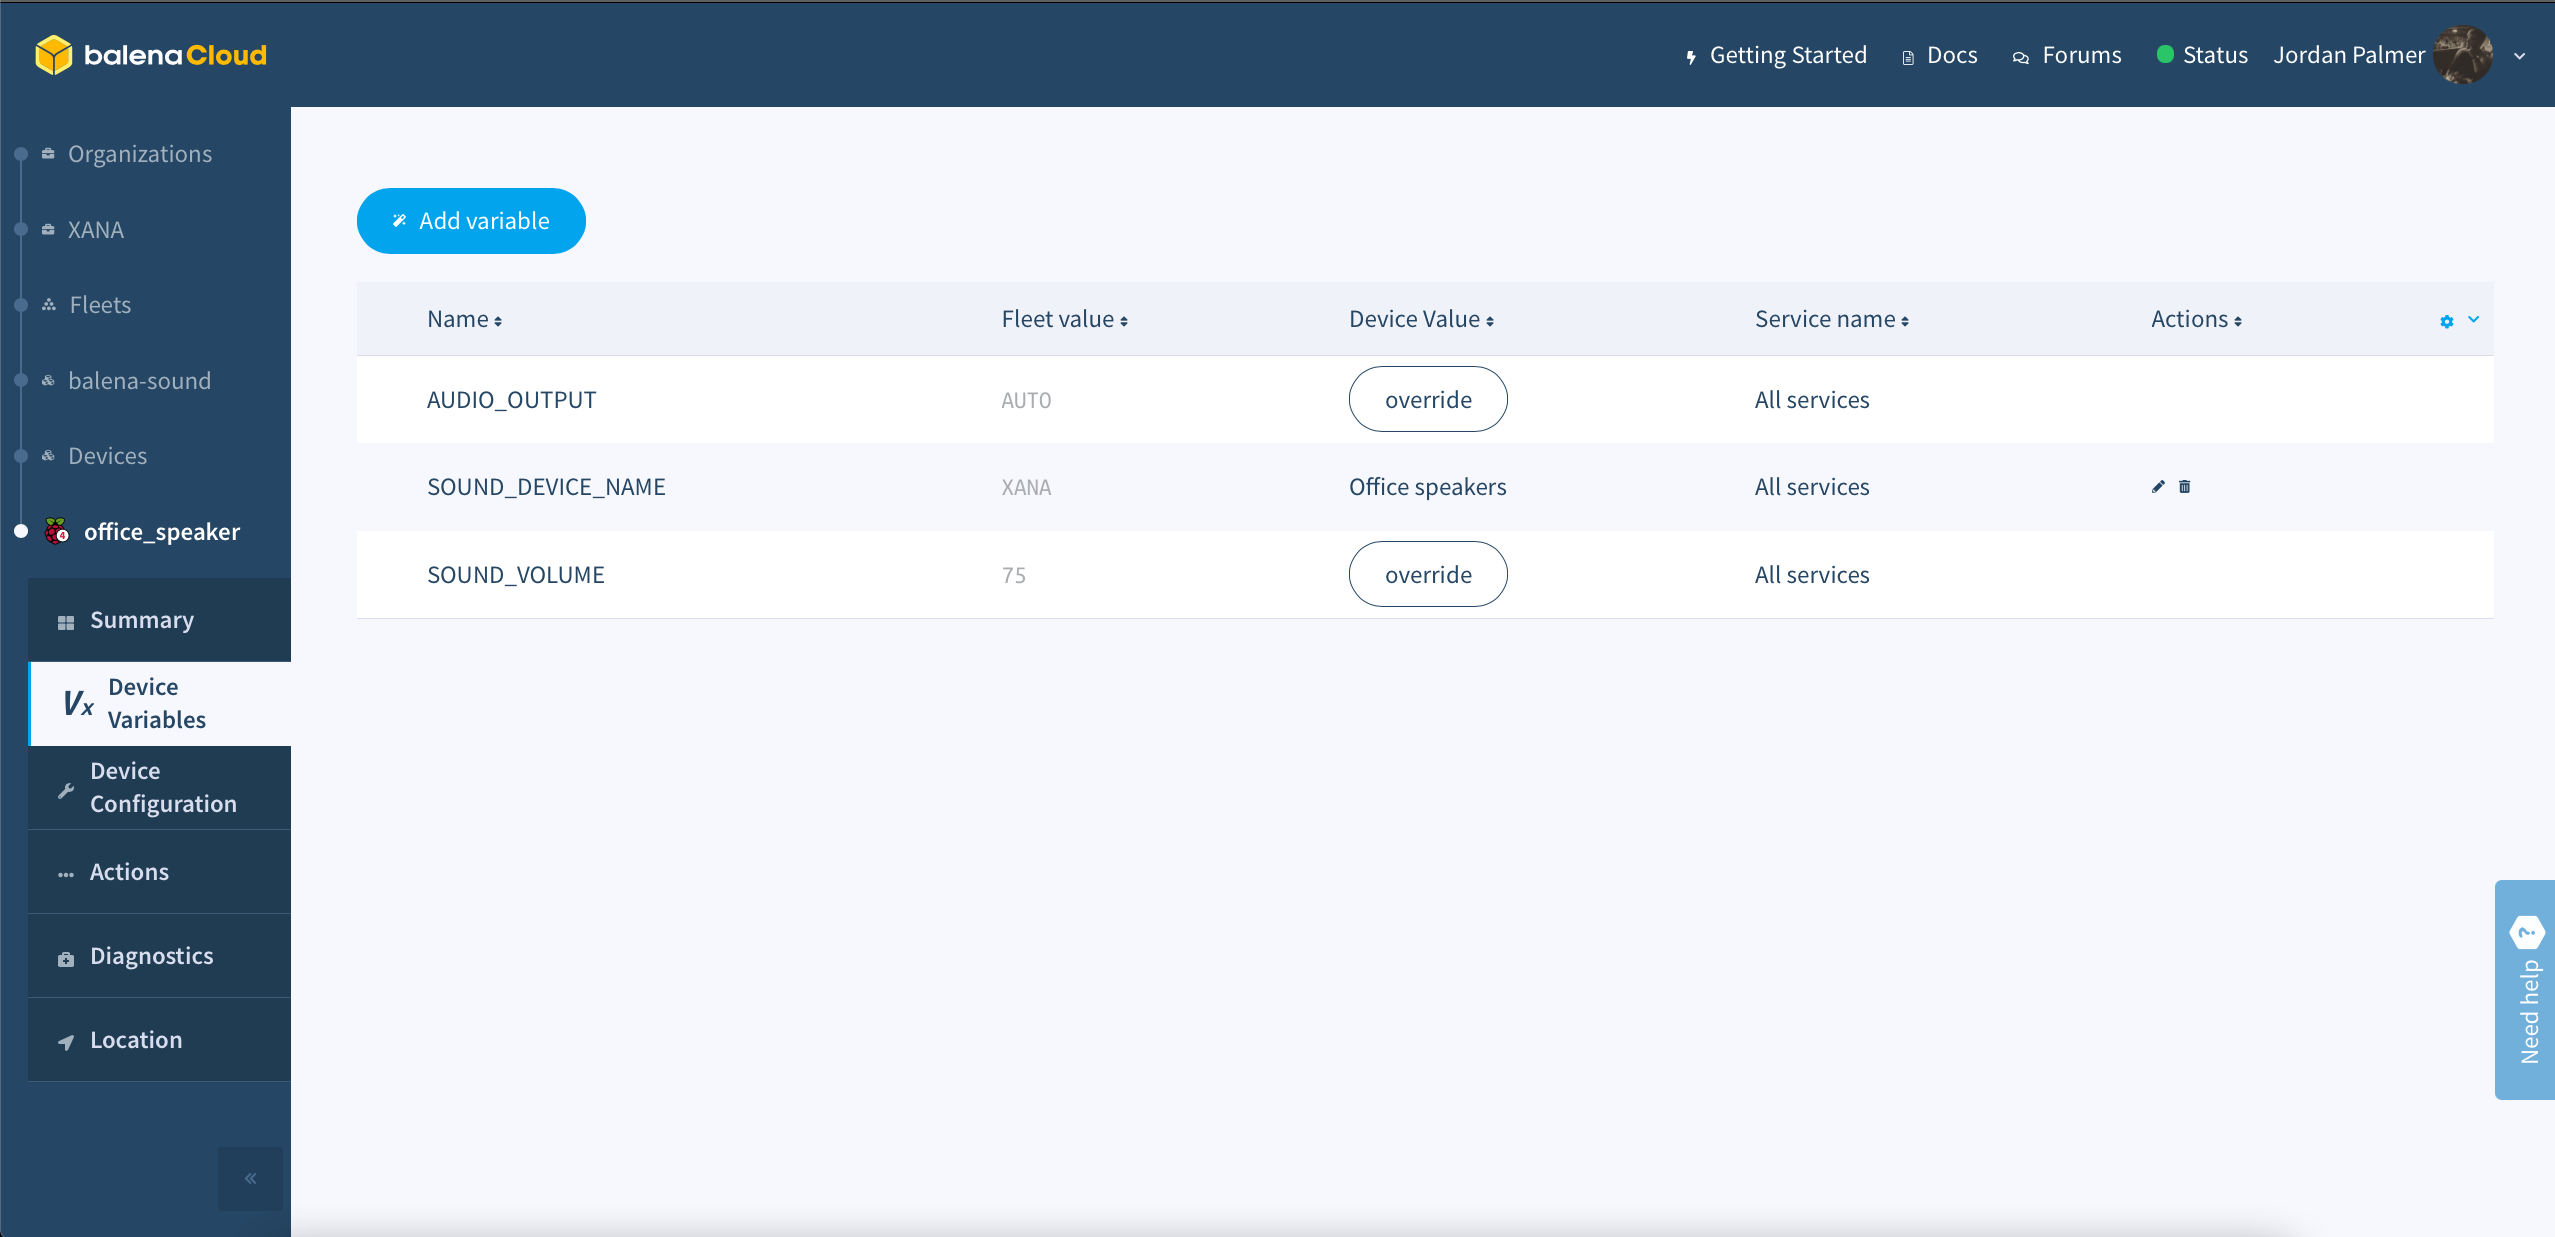
Bear in heed that this is global for the whole fleet. If you have multiple Raspberry Pis and you lot want them all to exist carve up names, become back to the dashboard and click the blue hyperlink with the device'south proper name. Click the Device Variables menu pick You'll see the SOUND_DEVICE_NAME variable here that you just fix, but so at that place's an Override push. Click that, and gear up a new name for that particular Pi.
In add-on to the fleet summary, there'south a device summary department where you view each device's stats. This is where you'll find the logs, access to the terminal (over SSH), service status, and the local (and public) IP address.
At that place are several more variables to play with, similar setting a custom input loopback latency to help with skipping. I accept noticed that there's a delay with Spotify Connect, merely I'one thousand nevertheless playing with my config to see what I can figure out. And when my DAC chapeau arrives, there are some things I need to tweak to become balenaSound to play with that properly.
Making my own Sonos alternative
All told, I spent less than $80 on this project. Compare that to the entry-level Sonos One SL, which costs $199. I accept two decent speakers running a multi-room server, with the only pain bespeak being a lack of Cast support.
Of class, with the chip shortage, you'll be difficult-pressed to observe a Raspberry Pi — my two local Micro Centers are completely sold out. And on the resell market, they control a pretty penny like every other piece of tech these days.
I plan to run balenaSound on a split motorcar in a Docker container to act every bit the multi-room master device and have each of my speaker Raspberry Pi groups act as clients. Thankfully, I take a dedicated server that is more than up to the task (it likewise handles my Plex server and will bear the brunt of my next projection, Rhasspy).
I don't think balenaSound is a perfect solution, but information technology's a work-in-progress. It's not quite as plug-and-play equally Sonos, but you lot tin can pick up excellent standard speakers on Craigslist or Facebook Marketplace and go with this method instead, likely saving money or outdoing what an price-equivalent Sonos can practise. (You might fifty-fifty go lucky and score a neat deal on some older speakers.) Plus, you get to manage the whole thing and tweak it to your liking. You tin can't say that for Sonos.
When I started out on this projection, I had no idea how much fun it would be. At present, I significantly upgraded the sound in my function and my Raspberry Pi's DAC hat hasn't even arrived yet. I'grand looking frontwards to hearing the boost in sound quality.
I'm thrilled with how this turned out and I can't wait to deploy more Wi-Fi speakers. When I eventually get rid of all of my Google Abode speakers, I want to have easily streamable music in nearly rooms. Now I tin sit back and enjoy meliorate sound quality than what my MacBook Pro speakers or Nest Hub can provide.

Source: https://www.tomsguide.com/how-to/raspberry-pi-wifi-speaker
Posted by: hartshornthadvan57.blogspot.com
0 Response to "How to make a cheaper Sonos speaker with a Raspberry Pi"
Post a Comment